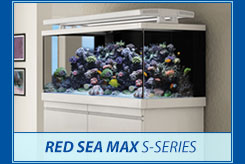
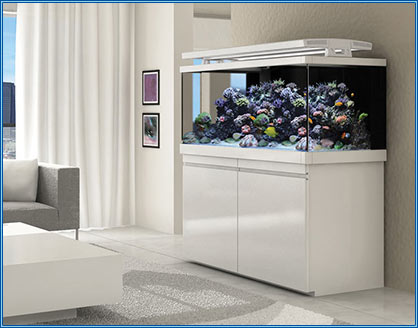
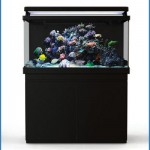
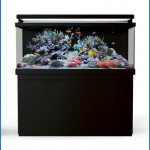
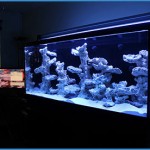
Well we have finally taken delivery of our display S 400 Red Sea Max S Series aquarium and we will be providing regular updates and blogs every step of the way from delivery, to each stage of the set up as well as regular updates on how the tank matures and improves with age!
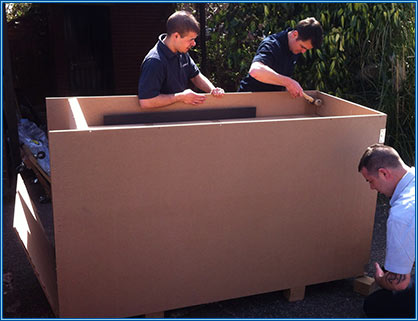
Delivery :- Well to say most aquariums just arrive on a pallet with minimal packaging etc we wasn’t expecting how the RSM S 400 turned up encased in a MDF crate, S Series style packaging! It took us a while to carefully remove each panel of MDF and maybe a little over the top but if your spending a large amount of money on an S Series aquarium then you do expect good quality packaging and its we feel its worth spending a little extra time unpacking than having it turned up scratched or worse! First impressions are very good! Your wont fit the crate in your house so be prepared for the delivery of your S Series aquarium and make sure you have plenty of room and helping hands to unpack. Ideally as garage, car port or at least drive way (maybe with a gazebo or something in case it rains?)
Step one :- Unpacking. Carefully remove the top lid and then remove the outer panels of the MDF crate around the Red Sea Max. Then carefully remove the individual boxes and packaging and place with care to one side. Do not try and lift the aquarium or anything with all the equipment etc inside it. Pay particular care and attention to removing the S Series Sump filter from inside the main tank, cleverly the packaging on the sump box has handles for easily lifting the sump tank out of the main S Series aquarium tank, you will need assistance to do this. We also recommend watching the set up videos we have on the Aquahome website Ideally use a tablet and have this running whilst unpacking and setting up your aquarium. You can simply pause and play as you go along, but we found by using the videos we didn’t miss any steps and it was a much smoother process than just using the instruction booklet alone. The individual components are quite light to move around, but do not attempt to lift the tank unless you have four people to assist, one for each corner. You do not want any disasters! Don’t forget you will need help both moving the aquarium inside your property but also to lift the tank onto the cabinet once assembled so put the kettle on and keep your helping hands waiting around for a few hours until you have your cabinet built.
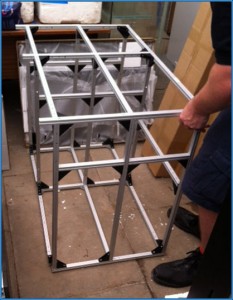
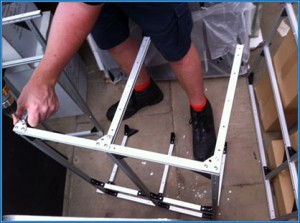
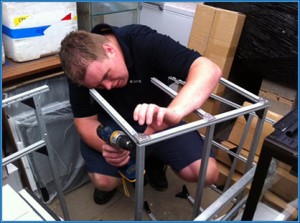
Step two :- Assembly of the Max S Line Cabinet Framework. You will need some tools to perform the task of building up your S Line cabinet, we recommend a powerful screwdriver, a rubber mallet, a flat head screwdriver and also a cross head type screwdriver. You will also need a spirit level when it comes to getting the cabinet into position. Each part of the frame work to the cabinet frame is clearly labelled up and matches the instructions, so double check each one each step of the way before you assemble. Give yourself a good 4 hours or so to assemble to cabinet and get it level with the aquarium in place. The framework is made from aluminium so strong and light, use the feet on the framework to identify left and right and also the back of the framework has protruding parts so its easy to work out which way round the frame panels go on the S Series but again take your time and don’t have the torque setting too high on the screwdriver in order for not to strip the threads when tightening up the screws. For a step by step guide, please watch Part 2 on the video section on the Aquahome website
Our next step will be the panels and positioning of the cabinet…


